
As Canmore locals, we’re lucky to have some incredible hiking trails close to home, and the Stanley Glacier Trail is one we’ve return to often. This beautiful Stanley Glacier hike in Kootenay National Park has a little bit of everything we love in a Rockies hike, including a regenerating forest, waterfalls, mountain views and, of course, the glacier itself.
What makes this hike especially enjoyable is how much the scenery changes as you climb. The lower trail passes through an old burn area, while higher up the views open into a dramatic mountain valley below Stanley Glacier. It’s a rewarding hike with plenty to see along the way, but there are also a few things worth knowing about the distance, difficulty and upper sections of the trail before you go.
In this guide, we’ll share what to expect on the Stanley Glacier Trail, including the trail distance, elevation gain, difficulty, parking, trail conditions and what the hike is really like based on our own experience. If you’re considering adding this Kootenay National Park hike to your trip, this should help you decide if it’s the right one for you.
This post contains compensated links.

| TRAVEL BANFF CANADA
────────────── • ──────────────
Have so many Banff ideas…
but not sure how they fit together?
You can save every post, read every comment, and still not know what’s realistic in one day. The Banff & Jasper Planning Hub helps you connect the lakes, hikes, shuttles, scenic drives, restaurants, and Jasper days into one clear plan.
Workshops
Itineraries
Shuttle help
Restaurants
Discounts
Explore the Banff & Jasper Planning Hub
Is the Stanley Glacier Hike Right for You?
How Long is the Stanley Glacier Hike?
Beginning and ending at the Stanley Glacier parking lot in Kootenay National Park, the round-trip distance of the Stanley Glacier hiking trail is 11.3 km / 7 miles.
How Steep is the Stanley Glacier Trail?
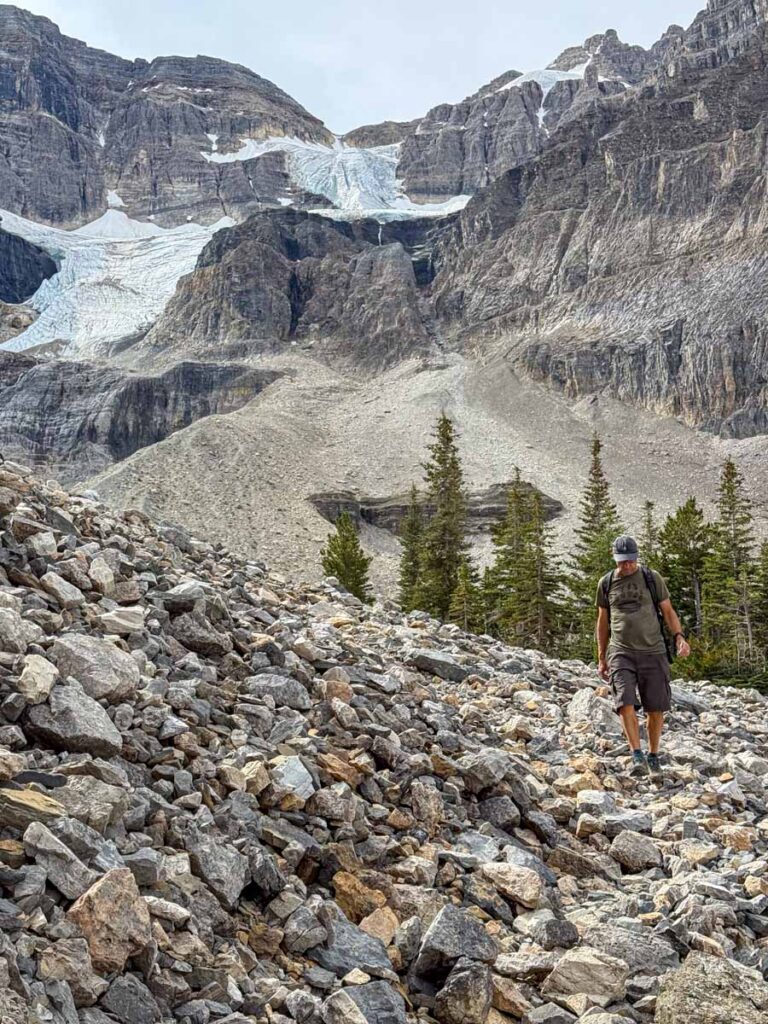
The first 4.5 km / 2.8 miles of the Stanley Glacier Trail is a steady but manageable climb. Once you reach the loop portion near the glacier, sections become much steeper, followed by an equally steep descent on the other side. The total elevation gain you will face on this Kootenay National Park hike is 607 m / 1,991 feet.
How Hard is the Stanley Glacier Hike?
Given its length and elevation gain, we consider the Stanley Glacier Trail a challenging Kootenay National Park hike.
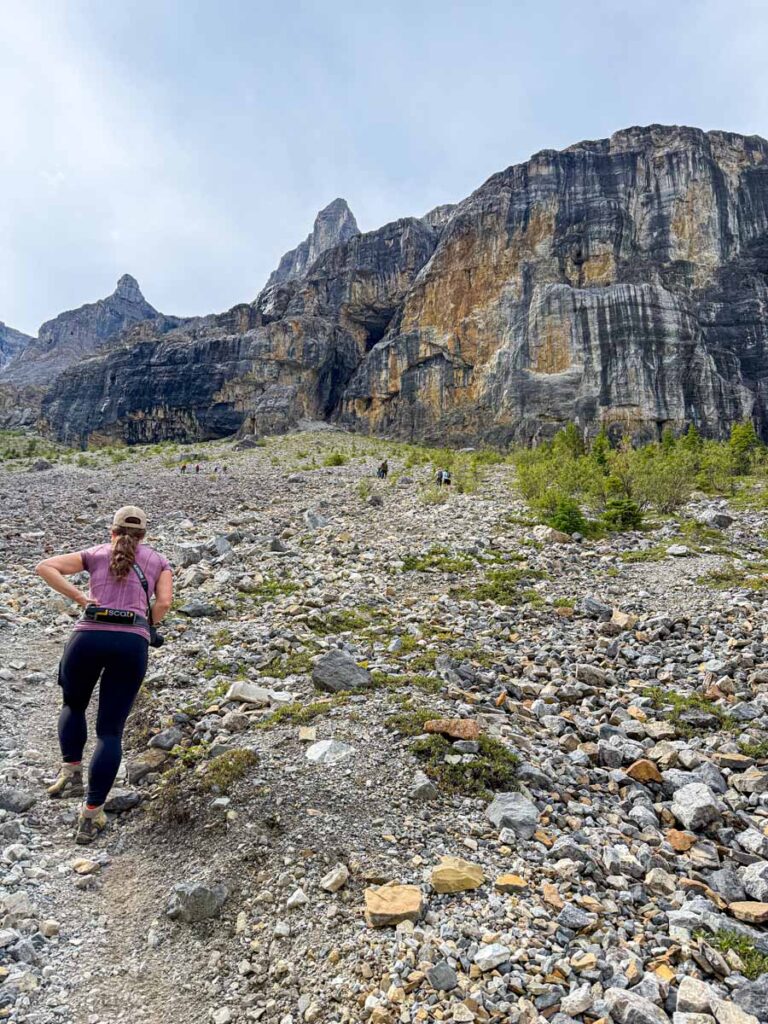
The Stanley Glacier Trail is not suitable for everybody. It features several very steep sections, many with loose rocks underfoot. Beginner hikers may find this combination a little too challenging.
How Long Does the Stanley Glacier Hiking Trail Take?
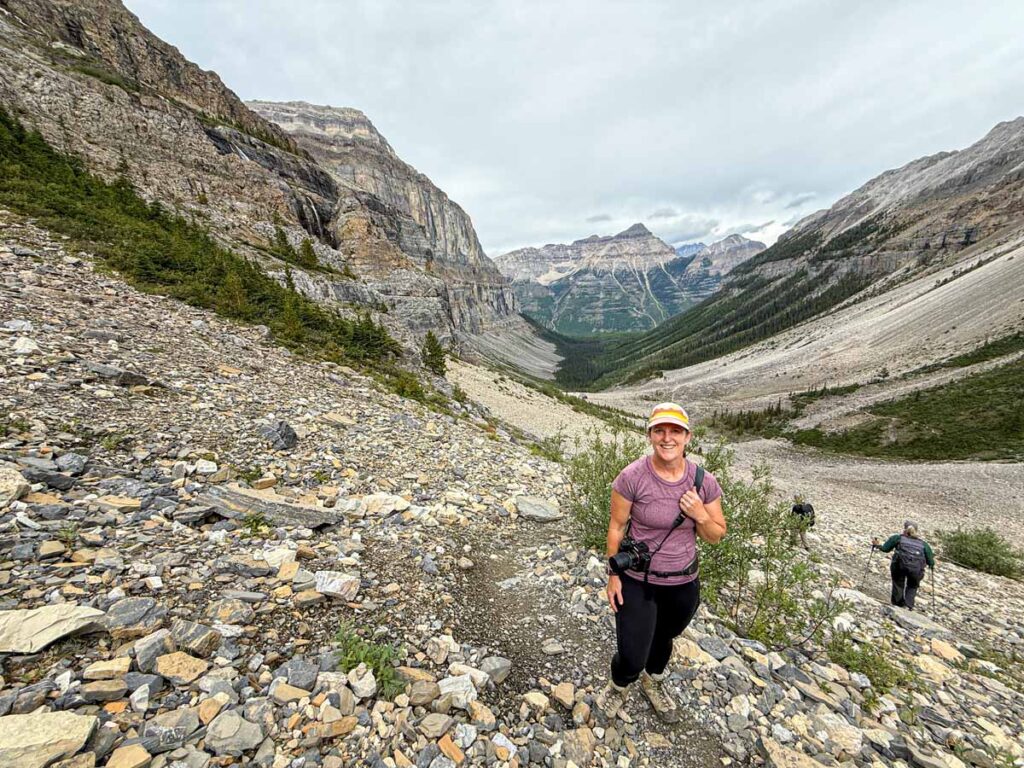
Hiking times vary considerably on Stanley Glacier. Some hikers can practically run up the steep slopes, while others will struggle. If you are a strong hiker, I estimate you can complete the hike in approximately 3 hours; more if you stop for pictures. If you prefer to take it more slowly, you could easily take up to 5 hours to complete this hike.
On our most recent hike on the Stanley Glacier Trail, we completed the hike in 3.5 hours.
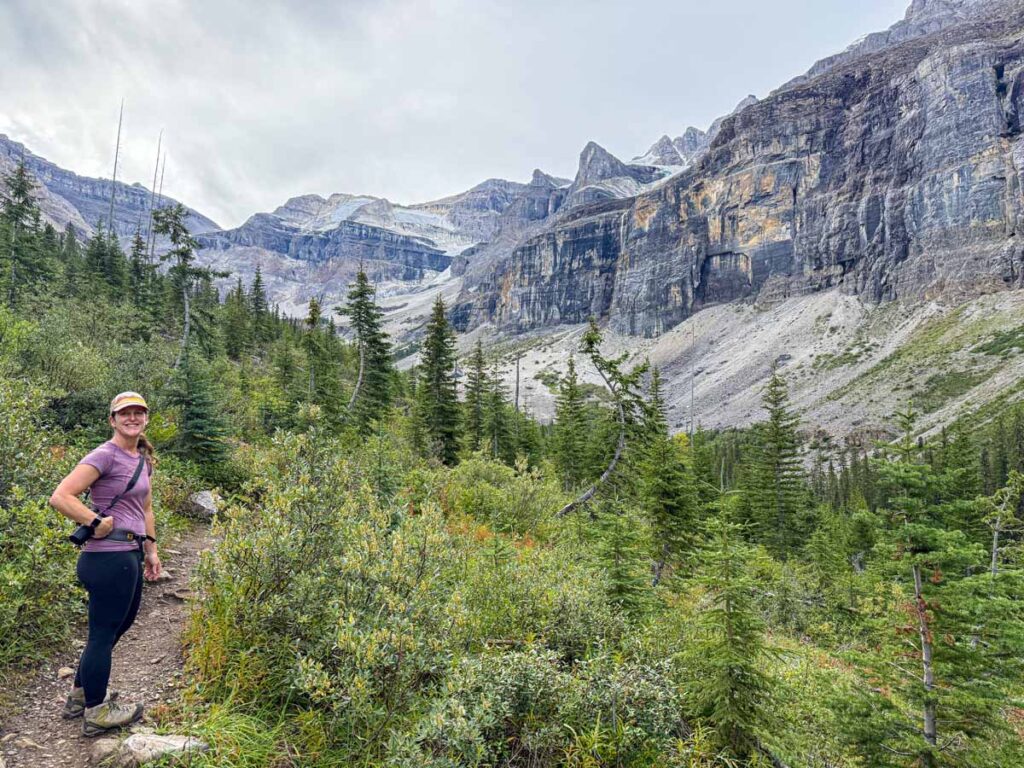
Alternatives to the Stanley Glacier Trail
If the Stanley Glacier hike isn’t right for you, don’t worry as there are plenty of excellent alternatives in Kootenay National Park, or in nearby Banff National Park.
Boom Lake is a great alternative to the Stanley Glacier Trail. It’s one of my favourite easy-to-moderate hikes in Banff National Park and is just 6 km away. The Boom Lake Trail is a very enjoyable walk through a forest to a beautiful lake surrounded by towering rocky mountains.
Another alternative to the Stanley Glacier Trail is the Arnica Lake Trail, which is just 5 km away. This moderate hike has similar stats to Stanley Glacier, but lacks the very steep sections. The Arnica Lake Trail visits two lakes and offers excellent vistas as you climb up the slopes of Storm Mountain.
Two of Kootenay National Parks most popular easy hikes are also nearby and can be combined into one very enjoyable hike. For mor information, check out our posts on the Marble Canyon hike and the Paint Pots Trail.
If you’d like more selection, this list of hikes in Banff National Park is sorted by difficulty level.
If you are looking for additional easy hikes nearby, check out our post on the best easy hikes in Banff National Park.


Let me Help with Your Banff Itinerary?
We have a suite of Banff Travel Planning services that can take all the guesswork out of planning your trip! Book a 1 hour travel consultation or let me create a custom Banff Itinerary for you!
What to Expect on the Stanley Glacier Hike
Crossing the Vermilion River
The Stanley Glacier hiking trail ventures deep into a mountain valley below Stanley Peak. As you step onto the hiking trail, the two shoulders of this valley are visible ahead. These two ridges will play a prominent role in the hike ahead.
Almost immediately after you begin the hike to Stanley Glacier, you’ll cross the Vermilion River over a big, black steel bridge.
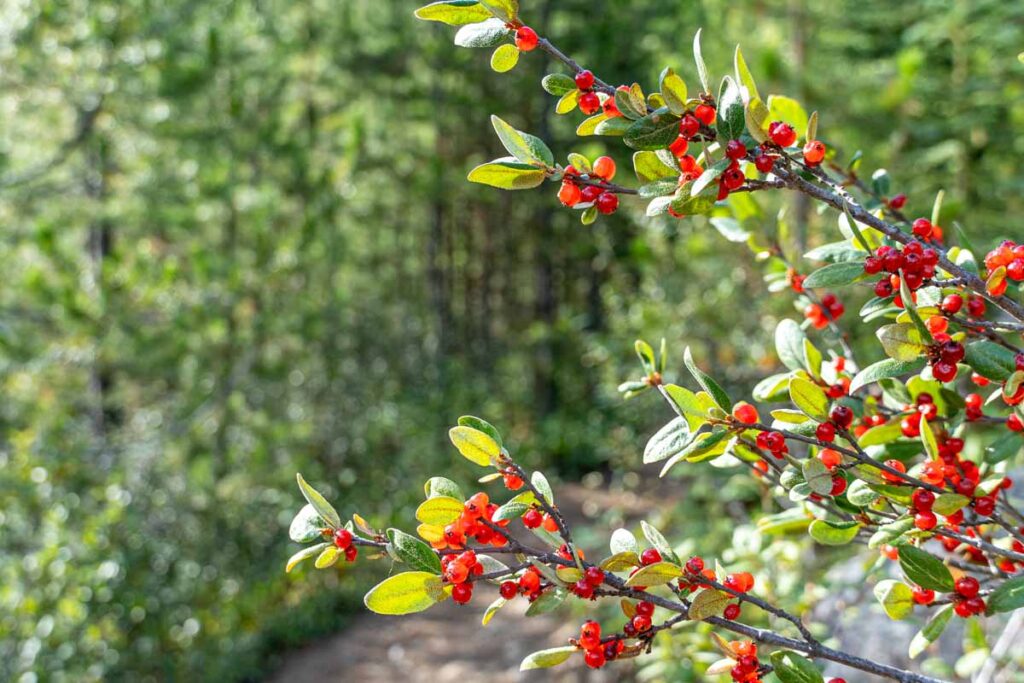
After the river crossing, the Stanley Glacier Trail starts to climb through a dense forest of pine trees. There are a significant number of buffalo berry bushes along the side of the trail here. These bright red berries are a favourite food for bears, so make a lot of noise as you hike. This will alert any nearby bears to your presence.
Hiking Through the Regenerating Forest
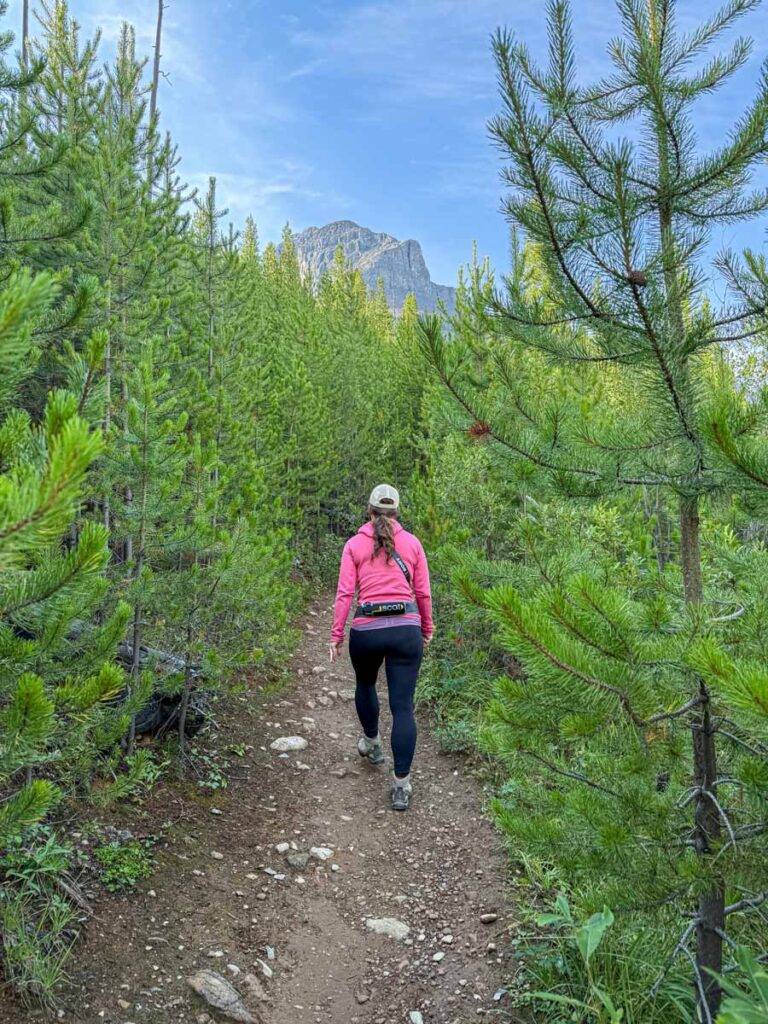
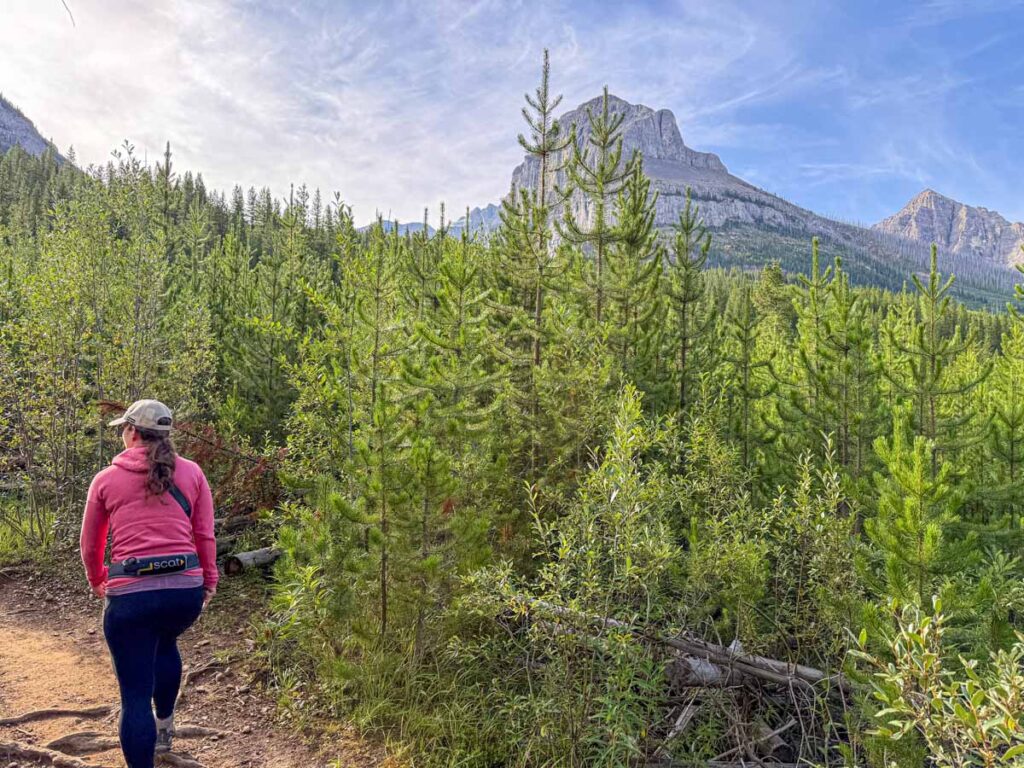
After 300 m / 980 feet the Stanley Glacier Trail enters an area of dense new forest growth. These pine trees are the next generation after a 1968 forest fire caused by a lightning strike. Given that these trees are more than 50 years old, it’s remarkable that many are only 5–20 feet tall. It gives you an appreciation for how old the fully grown trees must be!
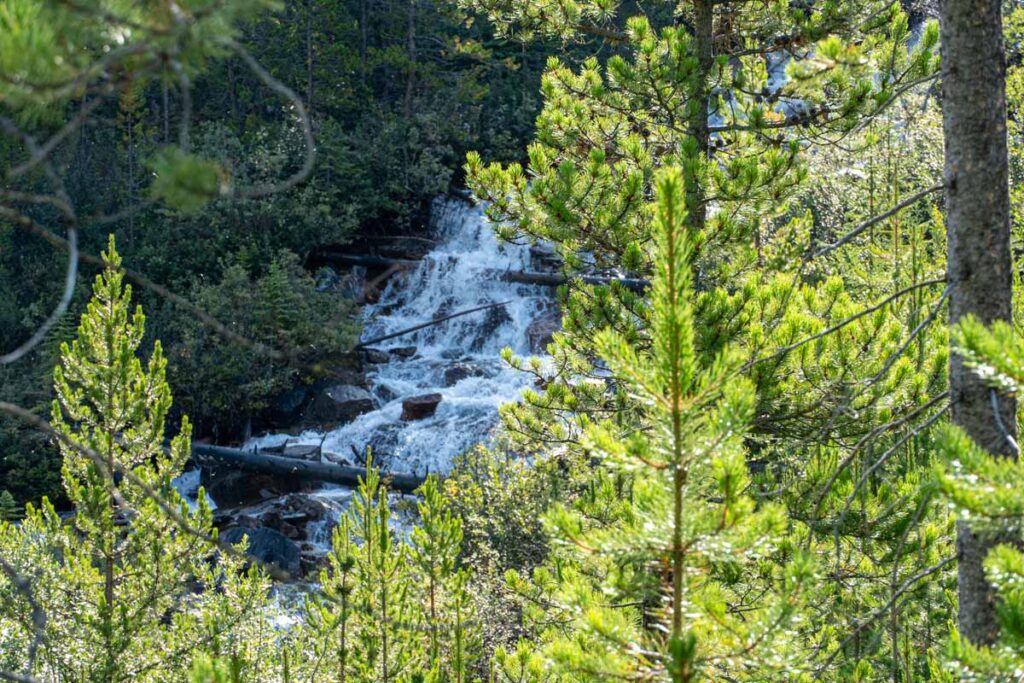
The hiking trail nears Stanley Creek after 600 m / 1,960 feet. From the main trail you can hear its powerful flow, but if you’d like to see it, you can take the nearby short spur trail.
Switchbacks and Stanley Creek
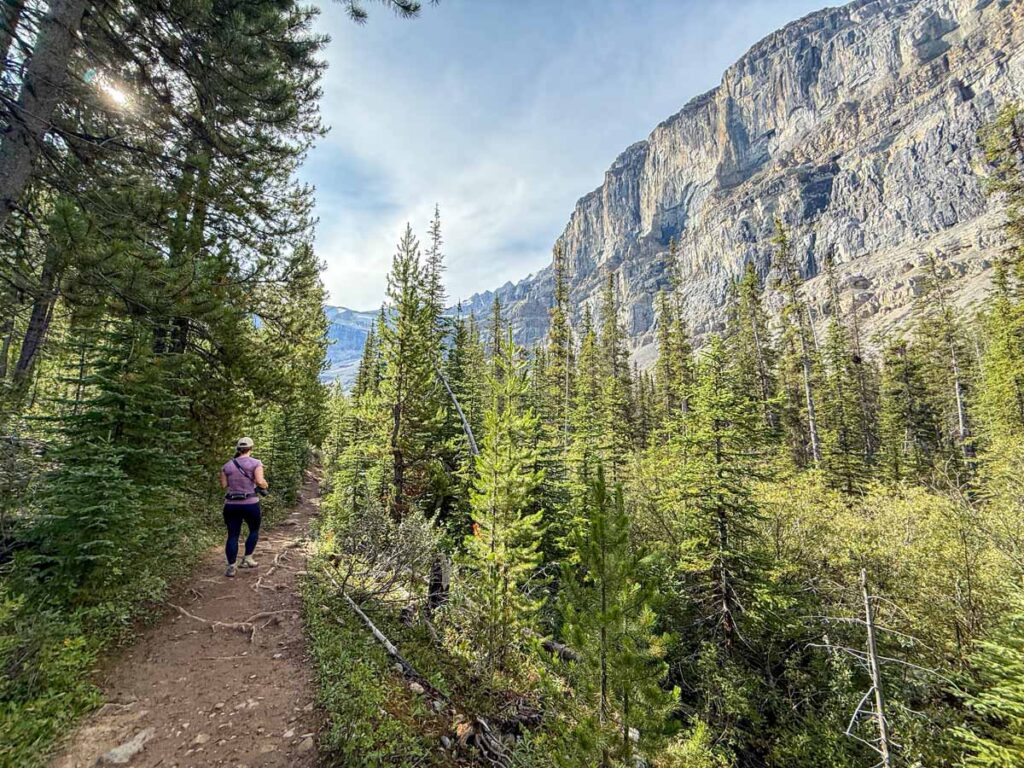
Next up on the Stanley Glacier Trail are a series of short, tight switchbacks. At this stage, the trees in the regenerating forest are so dense and close to the trail that it’s one of the rare spots in the mountains where you may feel a little claustrophobic.
At the 1 km / 0.6 mile mark of the hike, there’s a beautiful viewpoint of Stanley Creek. Here, the creek is flowing so fast you can almost describe it as a very long waterfall. While you are stopped, take a moment to admire Stanley Peak overhead as well.
The forest opens up a little bit later, affording you outstanding views of the mountains along the highway heading deeper into Kootenay National Park. From here you can see as far as Tumbling Peak.
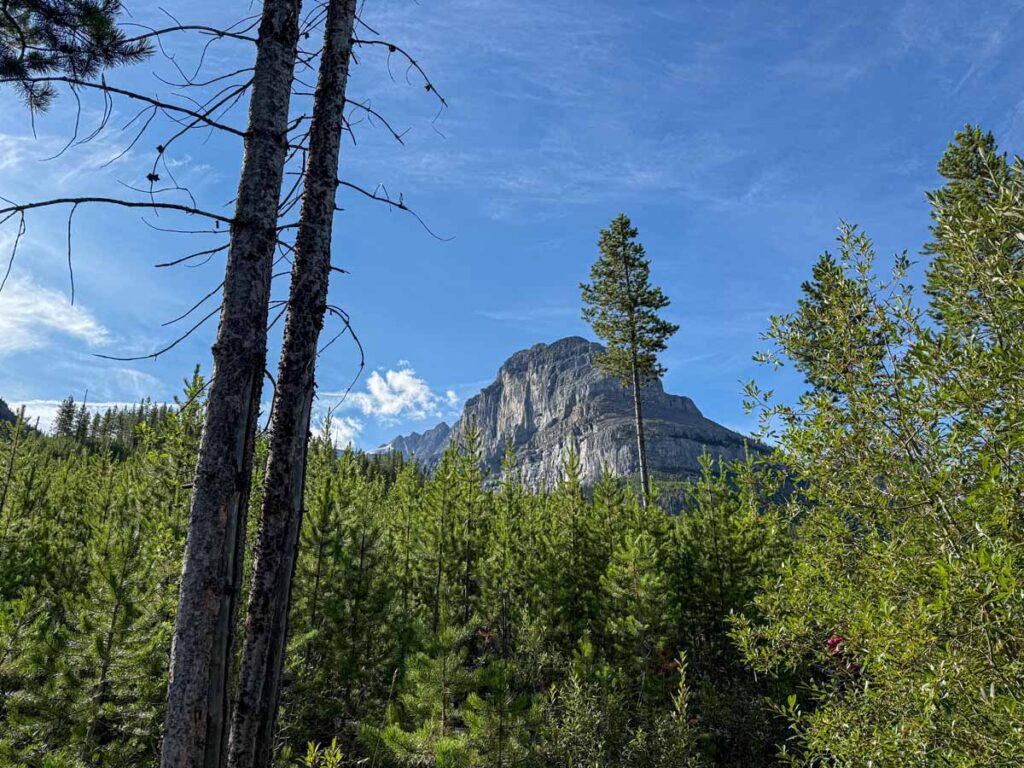
The switchbacks come to an end after approximately 2 km / 1.2 miles . The two shoulders of the Stanley Peak valley look imposing in the sky overhead as you get very close to them. The cliff face on the right is especially impressive with a near vertical rock face the whole way into the valley.
First Views of Stanley Glacier
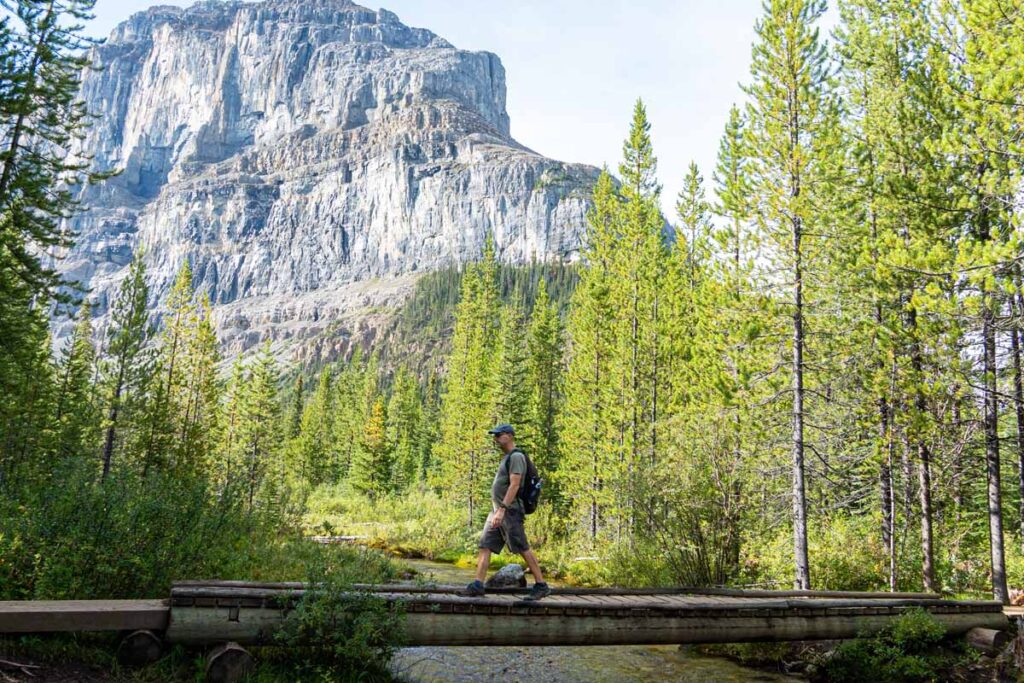
At the 2.3 km / 1.4 mile mark, the Stanley Glacier comes into view. Here you’ll cross a tranquil section of Stanley Creek on a simple wooden bridge. The rock wall on the right is just so impressive here, you have to see it for yourself!
After 3 km / 1.9 miles , the trail is still going through new growth pine trees, which gives you a sense of the size of the forest fire. You’ll be fully in the valley now and you can see more of the Stanley Glacier ahead.
Shortly after, the Stanley Glacier hiking trail flattens a little bit, giving you an opportunity to soak in the stunning views you’ve earned. The sound of nearby Stanley Creek adds to the amazing ambiance. It seems like this is the area where the forest fire may have ended as there are taller trees nearby with blackened tree trunks, that still appear to be alive.
Hiking Through a Rockslide
You’ll enter the remains of a rockslide after 3.7 km / 2.3 miles of hiking the Stanley Glacier Trail. There are now multiple species of evergreen growing here, with fir trees starting to join the pine trees which have been dominating the forest so far. There are also many wildflowers here, including paintbrush, fireweed and potentilla.
There’s a beautiful waterfall on the right cliff face which comes into view at the 4 km / 2.5 miles mark. It has a unique flow to it; it almost seems like a long exposure photograph of a waterfall!
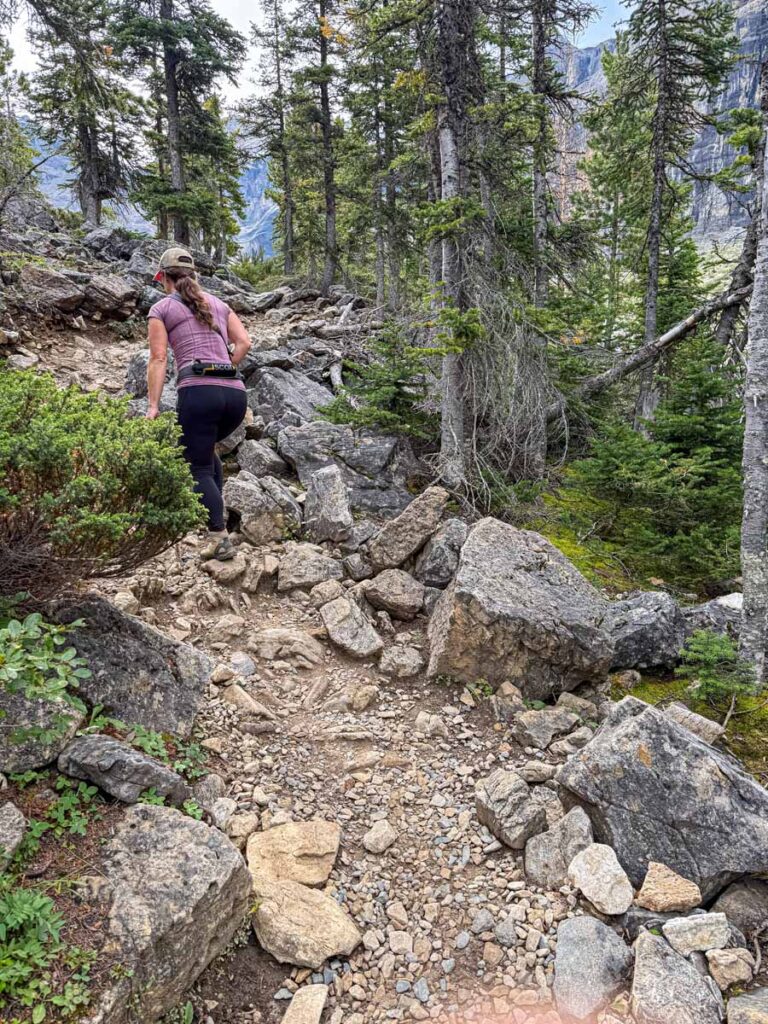
Beyond the waterfall, the Stanley Glacier Trail becomes rocky and very steep. From here, the trail is effectively above the tree line and you can see the glacier above the waterfall. The views up and down the cliff face on the right wall are stunning, while you can see massive alluvial fans of rocks on the left wall.
The Rocky Upper Trail
A few hundred metres later, you’ll reach the trail junction where the loop part of the Stanley Glacier Trail begins. We went right to do the loop in a counter-clockwise direction, and we recommend you do as well.
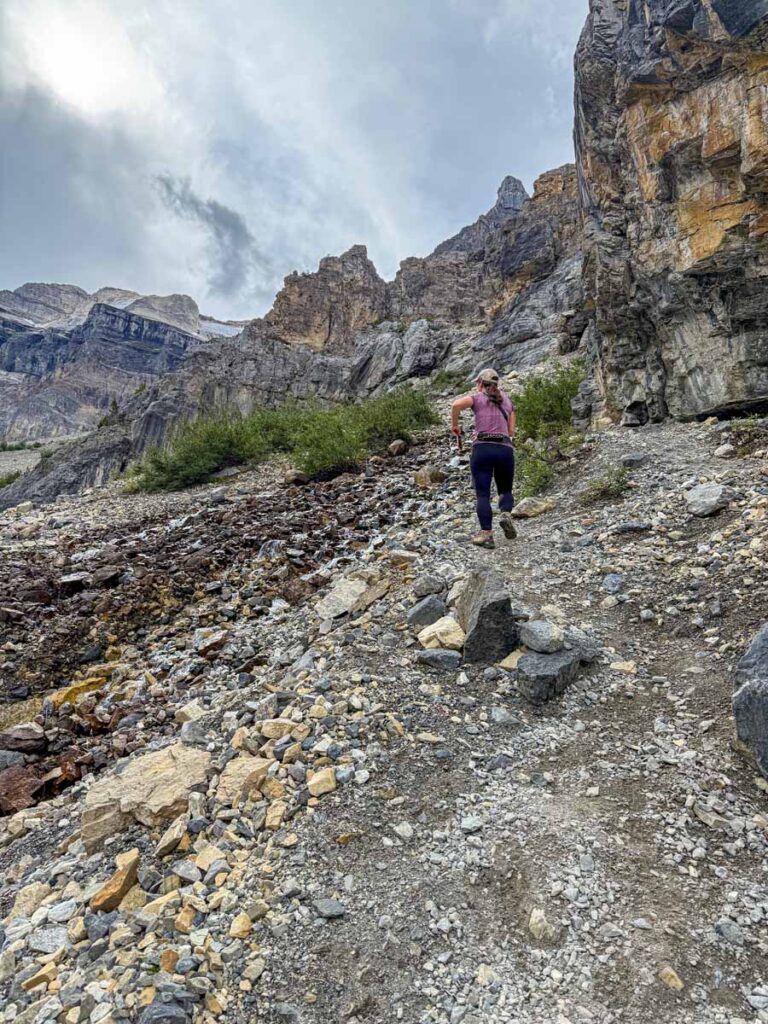
The hiking trail is very steep now and becomes very rocky as you ascend toward the cliff face on the right-hand side of the valley. The trail is effectively straight up in spots. As is common in this type of rocky terrain, you can hear the call of pikas coming from the rocks all around.
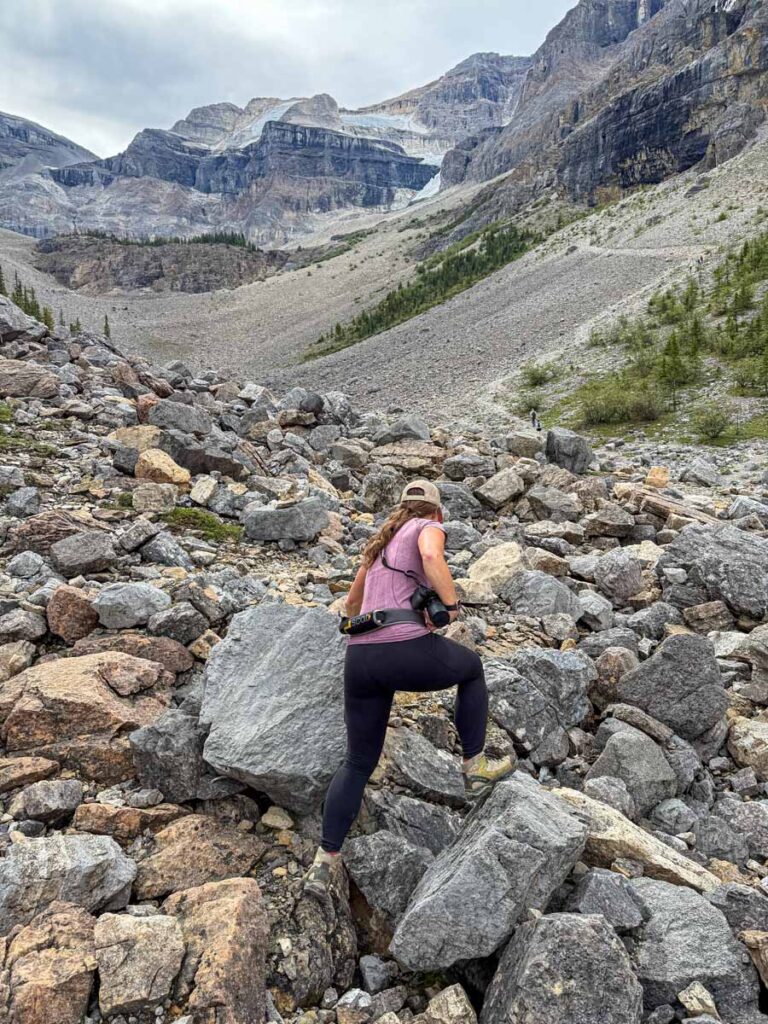
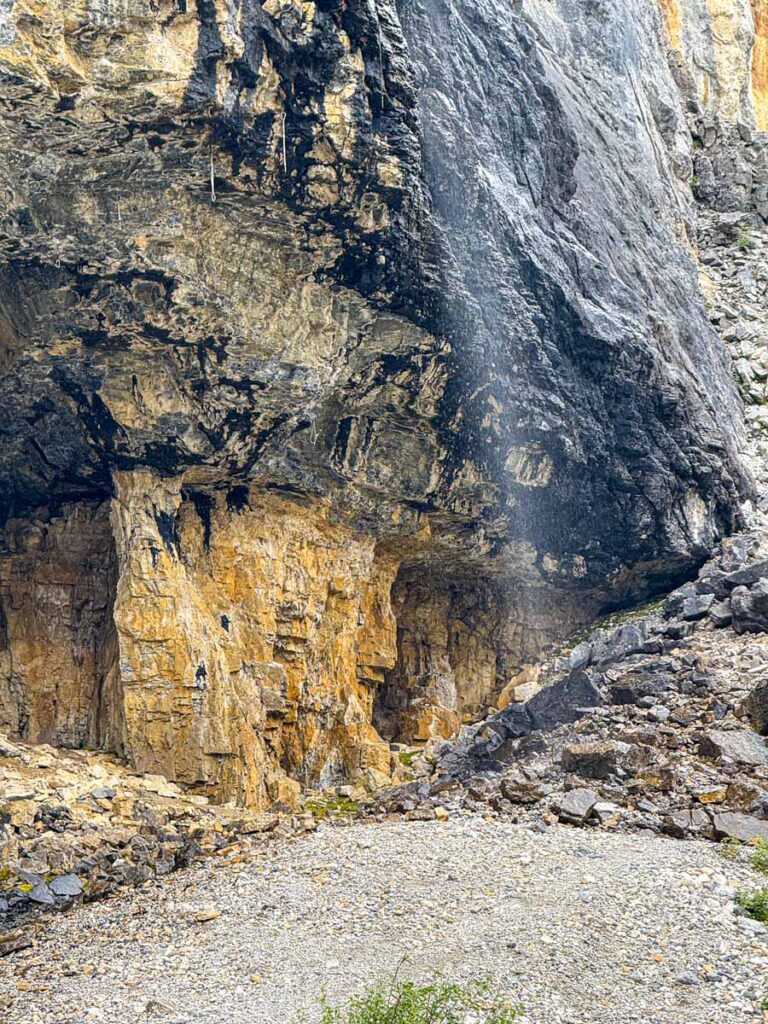
5 km / 3.1 miles after leaving the parking lot, you’ll be standing under the cliff face on the right-hand side of the valley. We found this section of the cliff is especially interesting and decided to stop and stay a while.
First of all, the cliff is very interesting with a pitch-black upper half and a white bottom. You’ll start to notice that water is trickling down much of the cliff face here. There’s a little trail which takes you closer, where you can stand in the flow of a misty little waterfall. Take a good break here as the relentless steep climb continues afterwards.
The Steep Climb Continues
In short order, the Stanley Glacier Trail meets up with another rushing stream and waterfall. Once you cross it, you’ll be able to see the partially hidden beautiful waterfall which feeds the stream. Keep an eye on this waterfall as you ascend further as you’ll eventually be able to see the stream go right to the top of the mountain.
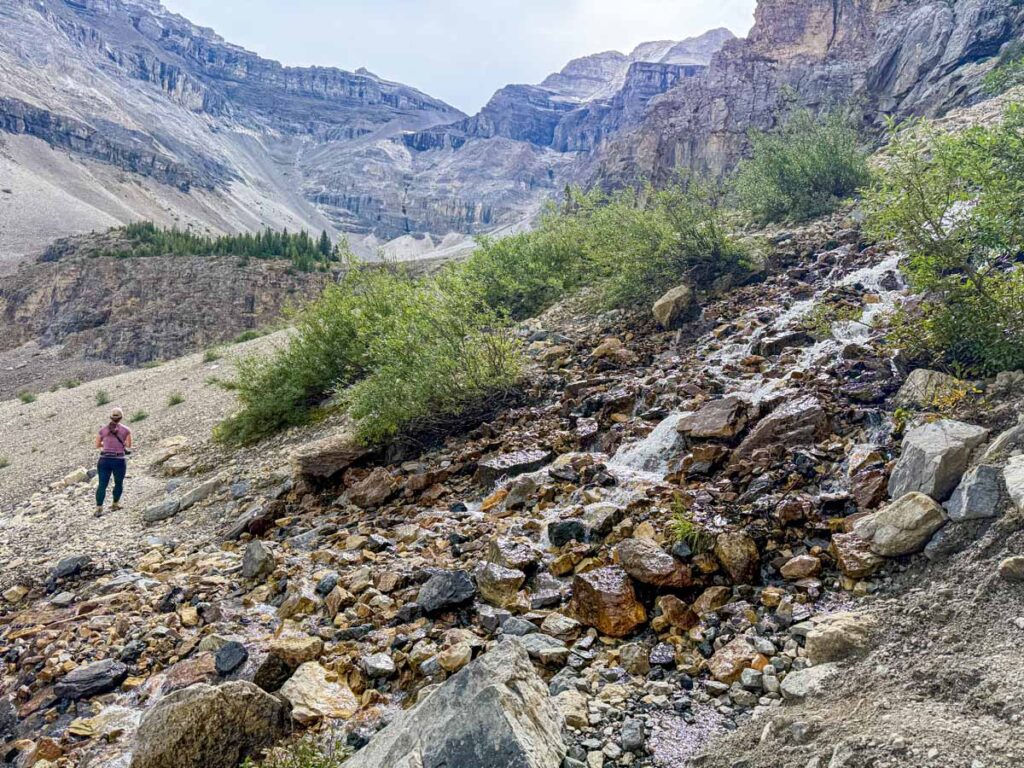
As you near the top of the trail, you’ll see a patch of evergreens growing along a creek which runs through a rocky outcrop. At this stage, the hiking trail is really hard to find without the help of a digital hiking trail map (we used AllTrails for this hike), but if you just follow along the outside of the trees, you’ll be good.
Views of Stanley Glacier
At the very top of the trail, you’ll enjoy some of the best views of Stanley Glacier. It was a bit hazy the day of our most recent hike, but the sun came out for a bit at this point, and we could see a sparkling blue color in the cracks of the glacier. While you are here, scan the upper reaches of the entire valley and you’ll suddenly notice how many waterfalls there are!
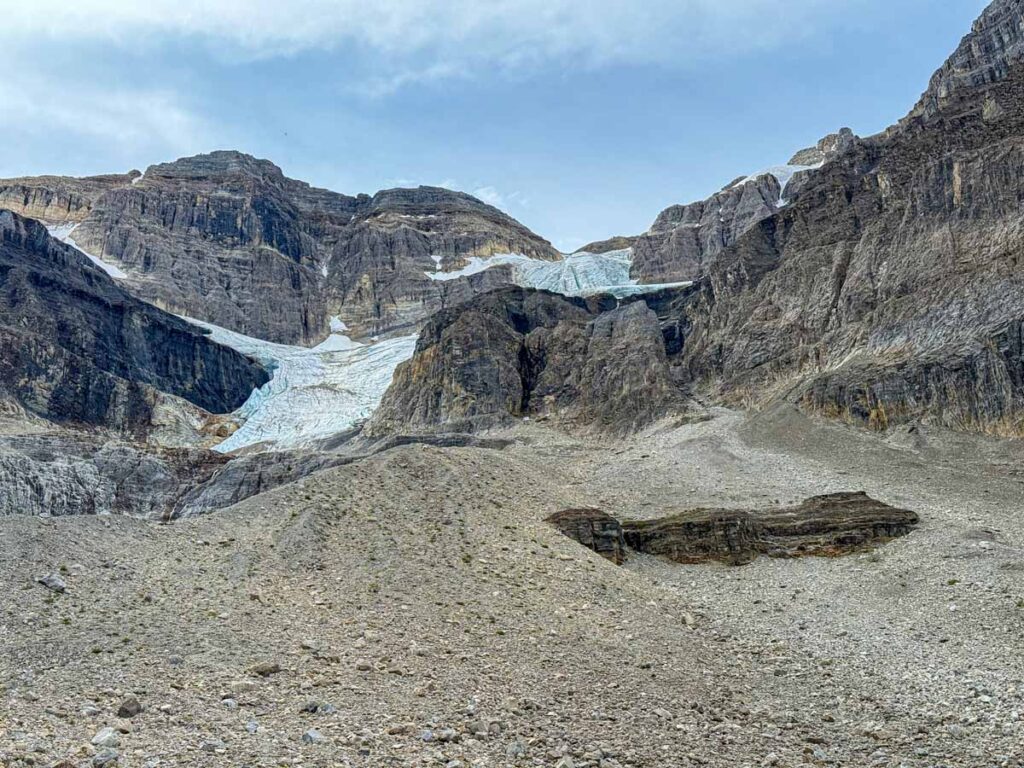
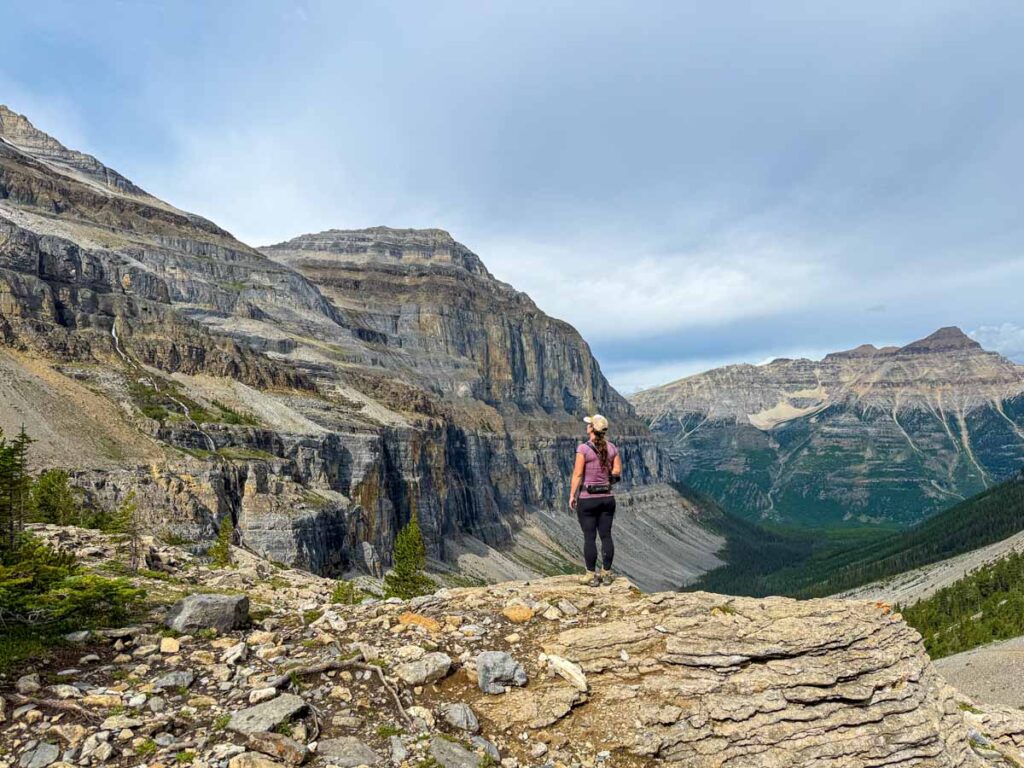
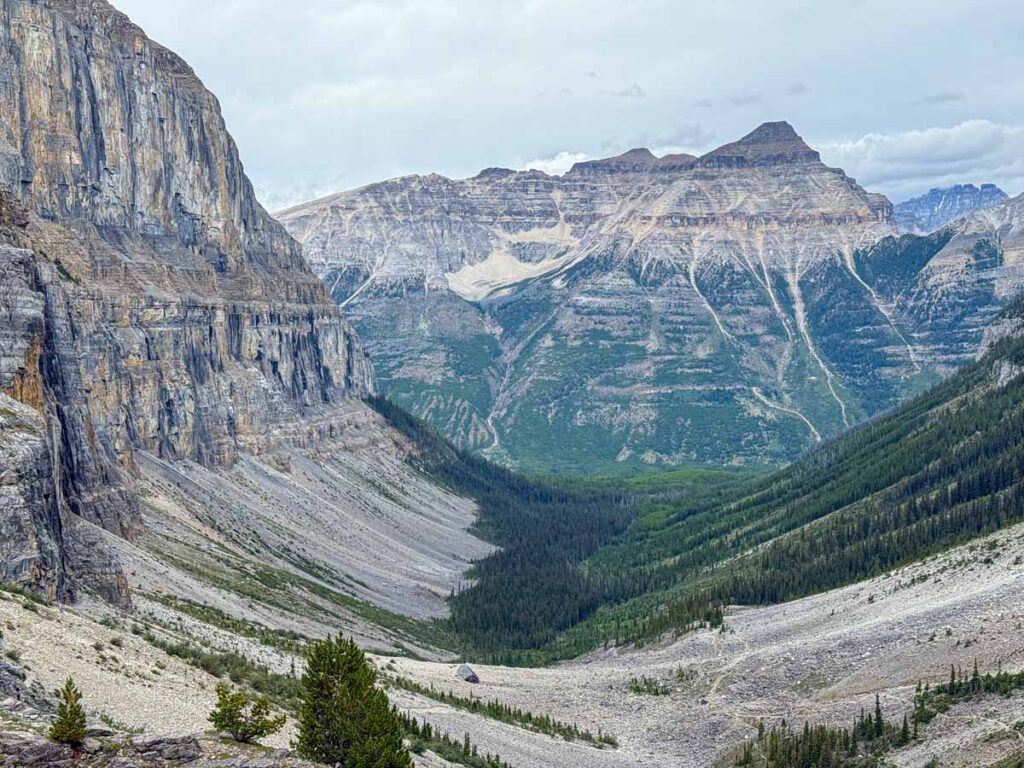
As you begin the descent, take a moment to look back at the incredible views down the valley. There’s a flat rock where you can stand and soak it all in. The Stanley Peak Valley is amazing, while Mount Whymper across the highway is majestic. Take a look at the various shades of green in the forest below and you can see where the forest fire did and didn’t go.
The Descent
Beyond this amazing viewpoint, the Stanley Glacier Trail begins an equally steep descent through loose rock and scree. It’s not much fun and you’ll need to keep a very close eye on your footing. Many hikers will prefer to have hiking poles here for extra stability, but we managed fine without them.
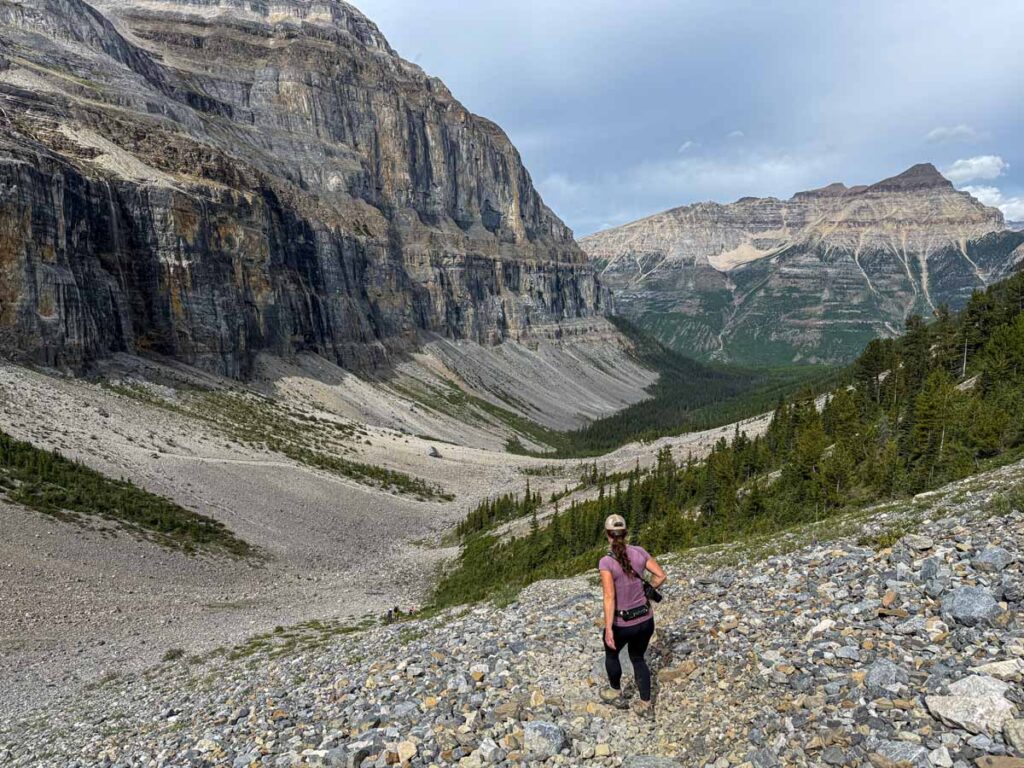
After 6.8 km / 4.2 miles of hiking on the Stanley Glacier trail, you’ll reach the end of the loop trail, leaving you to return to the trailhead along the 4.5 km of trail you’ve already hiked.
Stanley Glacier Trailhead, Parking and Directions
The Stanley Glacier hike is located on Highway 93 just minutes outside of Banff National Park. You can access Highway 93 from the Trans-Canada Highway via the Castle Junction interchange.
The Stanley Glacier parking lot is reasonably small given its popularity. It fills up quickly on weekends, so I recommend getting here early if possible.
As the Stanley Glacier parking lot is in Kootenay National Park, you will need a Parks Canada Pass to park here.
Directions to Stanley Glacier Parking Lot

Recommended App
This GPS activated Canadian Rockies Audio Driving Tour is the perfect companion to your Banff vacation. It’s both entertaining and educational and will greatly enhance any drive in Banff National Park. Get 15% off with our Banff Discounts.
Stanley Glacier Trail Map
The Stanley Glacier hiking trail is pretty easy to follow for the first 4.5 km, but once you begin the rocky loop section of the hike, it can be difficult to find the trail. We highly recommend you have a digital map of the trail on your phone to help you find your way.
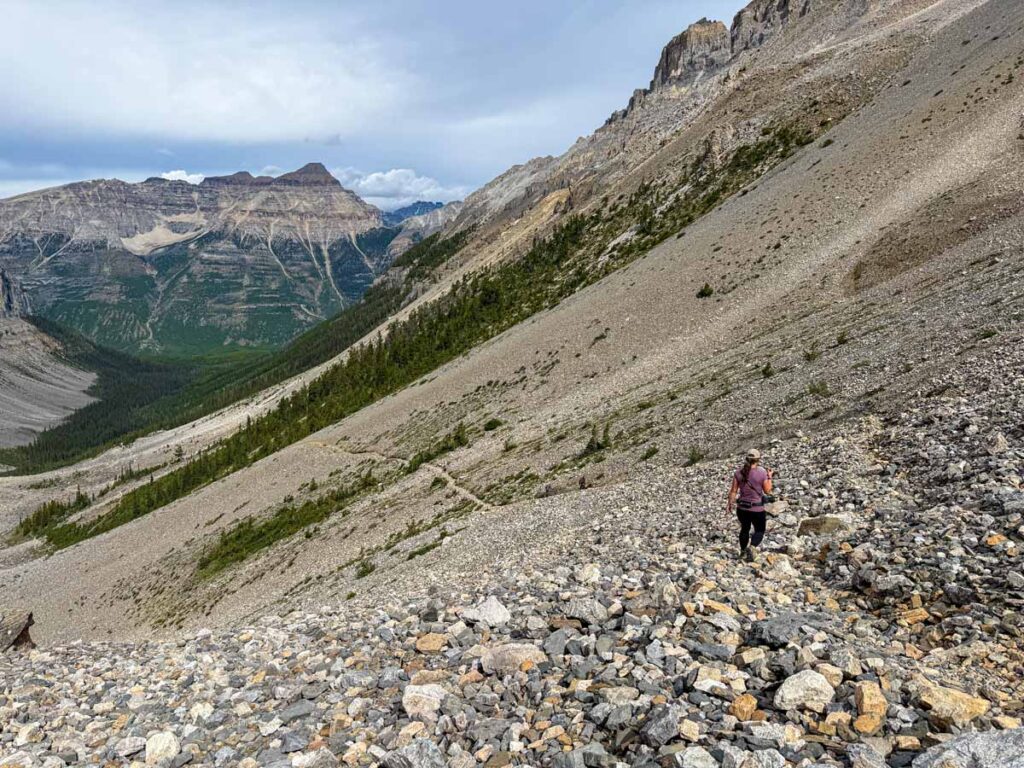
We use the AllTrails app every time we go hiking in Kootenay National Park, Banff and around the world. It helps us stay on track and record our stats (distance, elevation gain, etc.). You’ll find the digital map for this hike in AllTrails by clicking this link for the “Stanley Glacier Trail Map“

Banff App Pick: AllTrails
AllTrails is one of our most recommended apps for visiting Banff, and your trip is the perfect time to try AllTrails Plus. Start with the 7-day free trial to download maps, save hikes, and use premium features before heading into the mountains.
Hiking Stanley Glacier with Kids
Due to its length and elevation gain, Stanley Glacier is a difficult hiking trail and will not be suitable for all kids, especially ones who do not have much hiking experience. Younger, or inexperienced hikers may find the very steep sections along the loop portion of the trail a little scary or intimidating.
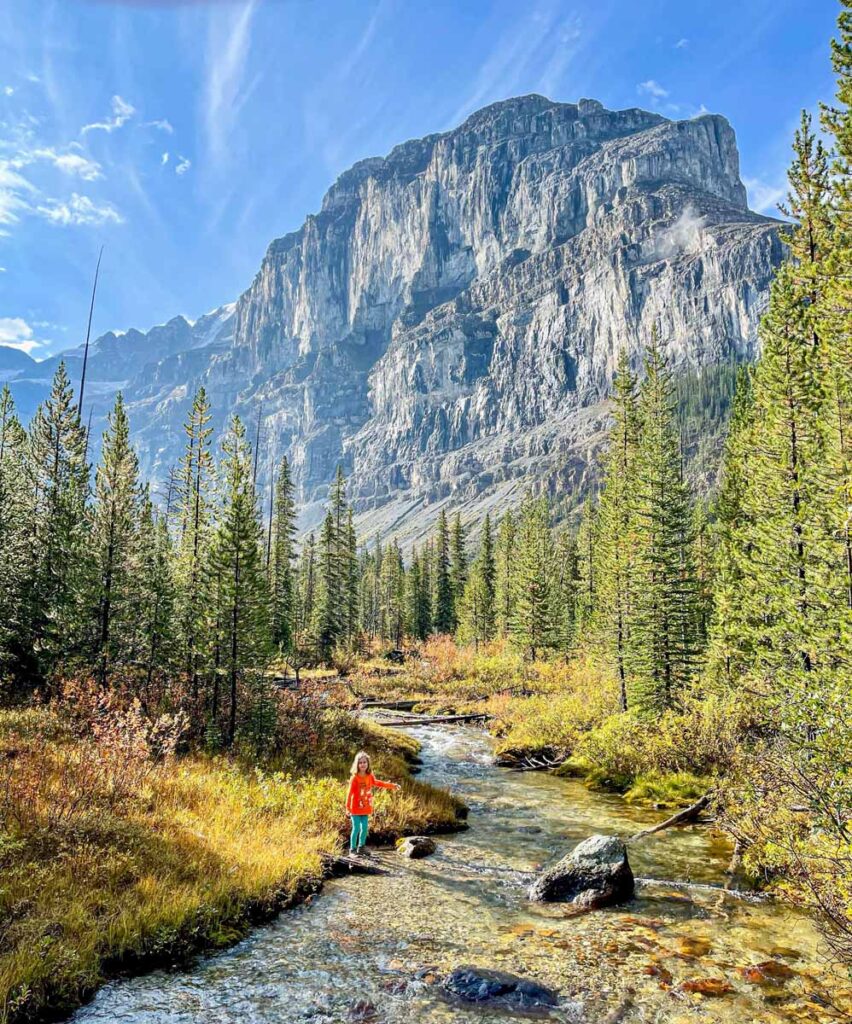
We hiked the Stanley Glacier Trail with our kids when they were a little too young to do the full loop. Instead, we hiked the 4.5 km / 2.8 mile section of trail to the junction for the loop trail. This section of trail features a ton of scenery, and has lots of interesting features, including evidence of the old forest fire and several waterfalls, to keep kids engaged. This section is still challenging, but should be doable for kids who know how to hike.
Including breaks, it took us about 4.5 hours to hike the Stanley Glacier Trail with our kids to the loop junction and back.
Stanley Glacier Hiking Safety
There are relatively few hiking hazards along the first 4.5 km / 2.8 miles of the Stanley Glacier Trail. The trail is well maintained and easy to follow.
Beyond the first 4.5 km, the loop portion of the Stanley Glacier hike becomes a little more challenging. The trail features some extremely steep sections on loose scree. During these sections, we encourage you to slow down and take your time, watching your footing carefully. Keep a safe distance from each other as loose rock may tumble onto hikers below.
We recommend checking the latest Parks Canada Stanley Glacier trail report to check trail conditions and possible closures before you head out.
Also, take the time to read our hiking tips for the Canadian Rockies for even more ways to prepare for this hike.
Stanley Glacier Trail Logistics
There is a toilet in the Stanley Glacier Trail parking lot. There are no toilets on the trail, so make sure everyone goes before they begin.
There are no drinking water facilities, so fill your hydration packs before you leave home or your hotel.
Stanley Glacier is a very popular hike and the parking lot often fills up early in the day. Go as early as you can, especially during the peak summer hiking season.
Do not count on having cell service on this trail.
What to Bring While Hiking Stanley Glacier
Stanley Glacier is a difficult Kootenay National Park day hike, so make sure you’re prepared before heading out. Review our list of Banff hiking gear essentials to ensure you have a safe and enjoyable day of hiking the Stanley Glacier Trail.
Support Human Created Content

Hi, we’re Dan & Celine Brewer, locals from just outside Banff National Park. Every article, itinerary, and recommendation we share is rooted in our real experiences and love for this place. If you’ve found our content helpful, please consider supporting us:
- Make a small donation: Your support directly fuels our work and keeps our stories genuine.
- Purchase a guide or itinerary: Essential tools that help plan your trip and support local creators at the same time.
- Book lodging or tours through our affiliate links: You pay the same price, but we earn a small commission that helps us keep producing content.
Thank you for valuing authentic, human-created content. Your support allows us to help even more Banff travellers!

Dan Brewer, a life-long Alberta resident, calls Canmore home along with his wife and two kids. He is the co-owner of Travel Banff Canada, where he gets to share his passion for the Canadian Rocky Mountains. Dan, along with his family, love being outdoors doing one of the many activities they enjoy in the mountains: hiking, mountain biking, paddleboarding, skiing, snowshoeing and cross-country skiing.
When he's not in Canmore enjoying one of his favourite local hikes, you can find him hopping on a plane to explore a new country with his family or working on one of their other two travel sites: Family Can Travel and Baby Can Travel.